Recent version of ionic-ios > to 4.4.0 (ie: 4.5.4) has some problems. But this can by fixed removing console plugin:
sudo ionic cordova plugin rm cordova-plugin-console --save
That’s it

Just a personal clipboard …

Recent version of ionic-ios > to 4.4.0 (ie: 4.5.4) has some problems. But this can by fixed removing console plugin:
sudo ionic cordova plugin rm cordova-plugin-console --save
That’s it
Ionicons are awesome, but sometime we need more. Then, awesomeFonts come to scene.
First, install font-awesome:
sudo npm install --save font-awesome
Then, in the project root, create a file called script/copy-custom-libs.js with:
const existingConfig = require('../node_modules/@ionic/app-scripts/config/copy.config');
module.exports = Object.assign(existingConfig, {
    copyFontawesomeFonts: {
      src: ['{{ROOT}}/node_modules/font-awesome/fonts/**/*'],
      dest: '{{WWW}}/assets/fonts'
    },
    copyFontawesomeCss: {
      src: ['{{ROOT}}/node_modules/font-awesome/css/font-awesome.min.css'],
      dest: '{{WWW}}/assets/css'
    }
  }
);
Finally, in package.json add:
"config": {
  "ionic_copy": "./scripts/copy-custom-libs.js"
},
So, the next time you compile your project, the awesome-font will be in www/assets/
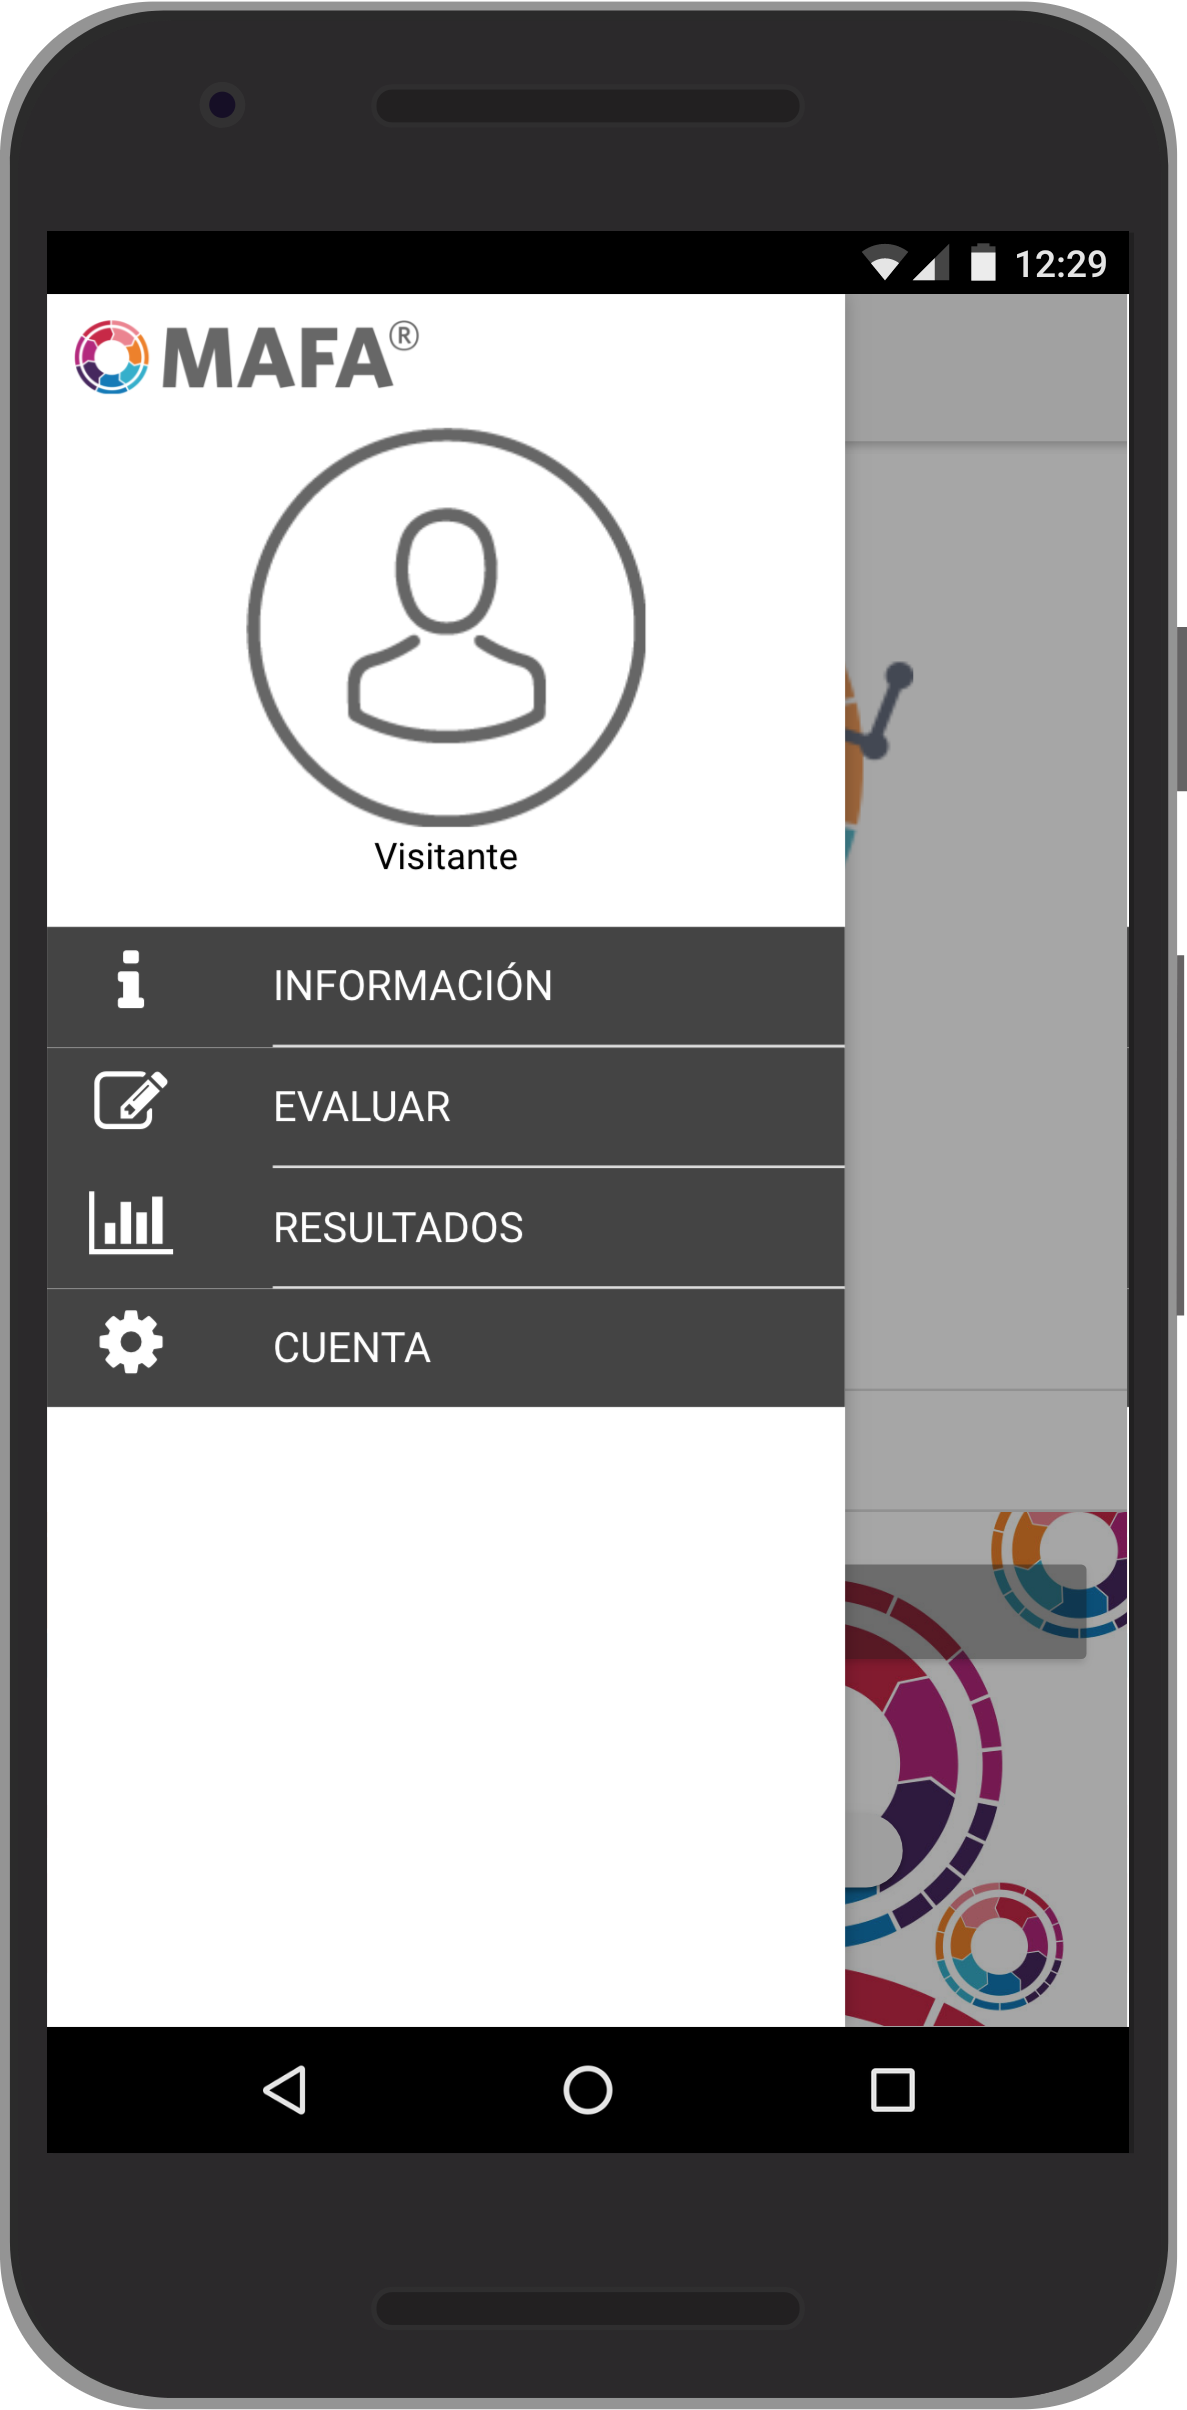
You can use this fonts in the side-menu:
    <ion-list>

      <ion-item menuClose ion-item class="franja_menu" (click)="irAPagina('InformacionPage')">
        <ion-icon class="fa fa-info icono_menu" item-start></ion-icon>
        INFORMACIÓN
      </ion-item>

      <ion-item menuClose ion-item class="franja_menu" (click)="irAPagina('EvaluarPage')">
        <ion-icon class="fa fa-pencil-square-o icono_menu" item-start></ion-icon>
        EVALUAR
      </ion-item>

      <ion-item menuClose ion-item class="franja_menu" (click)="irAPagina('ResultadosPage')">
        <ion-icon class="fa fa-bar-chart icono_menu" item-start></ion-icon>
        RESULTADOS
      </ion-item>

      <ion-item menuClose ion-item class="franja_menu" (click)="irAPagina('CuentaPage')">
        <ion-icon class="fa fa-cog icono_menu" item-start></ion-icon>
        CUENTA
      </ion-item>

    </ion-list>
Or, use it in the page header:
<ion-header>
  <ion-navbar>
    <button ion-button menuToggle>
      <ion-icon name="menu"></ion-icon>
    </button>
    <ion-title>Mi Cuenta</ion-title>
    <ion-buttons end>
      <button ion-button icon-only (click)="salir()">
        <ion-icon class="fa fa-sign-out"></ion-icon>
      </button>
    </ion-buttons>
  </ion-navbar>
</ion-header>

keytool -genkey -v -keystore app_name.keystore -alias app_name -keyalg RSA -keysize 2048 -validity 10000
You need to give a password for this file. Finally, the app_name.keystore is generated.
Assuming we are building an ionic app, here are the commands
sudo ionic cordova build android --release --prod
to compile, and generate the non-signed .APK file: android-armv7-release-unsigned.apk
sudo chmod 777 ./platforms/android/build/outputs/apk
jarsigner -verbose -sigalg SHA1withRSA -digestalg SHA1 -keystore app_name.keystore ./platforms/android/build/outputs/apk/android-armv7-release-unsigned.apk app_name
/Users/miguel/Library/Android/sdk/build-tools/27.0.0/zipalign -vf 4 ./platforms/android/build/outputs/apk/android-armv7-release-unsigned.apk ./platforms/android/build/outputs/apk/app_name.apk
adb install -r ./platforms/android/build/outputs/apk/app_name.apk
adb logcat
Just in case you need to see the console.log directly from you terminal. It will show you everything happening in your phone.