pure SQL in Yii (LEFT JOIN)

Recently I need it to make a LEFT JOIN using Yii. I try with $criteria, but it was impossible (for me). So I came across with a “pure” solution. That was:

public function actionGetListBeneficioSegunAnioProcesoInstancia($anio, $proceso, $instancia) {

    $consulta = Yii::app()->db->createCommand("
        SELECT 
            B.BEN_ID_NUM,
            B.BEN_NOMBRE_TXT,
            CASE WHEN LB.BEN_ID_NUM IS NULL THEN 'false' ELSE 'true' END AS MARCA
        FROM 
            PRM_BENEFICIO_BEN B
        LEFT JOIN
            (
                SELECT
                    BEN_ID_NUM
                FROM
                    ALG_RELACION_PROCESO_REL
                WHERE
                    ANI_ID_NUM = ".$anio."
                    AND PAS_ID_NUM = ".$proceso."
                    AND IAS_ID_NUM = ".$instancia."
                GROUP BY
                    BEN_ID_NUM
            ) LB
        ON
            B.BEN_ID_NUM = LB.BEN_ID_NUM
        WHERE 
            B.BEN_ESTADO_NUM <> 0
        ORDER BY
            B.BEN_NOMBRE_TXT ASC"
    )->queryAll();

    $tupla = array(
        'data' => CJSON::encode($consulta)
    );

    echo CJSON::encode($tupla);
}

So, then I can call this service like this:

http://sbyc.byc.local/nmod/M00ALGRELACIONPROCESOREL/getListBeneficioSegunAnioProcesoInstancia?anio=2018&proceso=428&instancia=273

Some useful command lines

I prefer UI instead of CLI, so every time I need to type in the terminal I forget some command. These are some:

rm -rf mydir

delete an empty or non empty folder (-f : force, -r : recursive)

touch myfilename

create an empty file

cp /dev/null myfilename

empty the document content

wget -m -p -E -k -K -np http://yourdomain.com/subfolder/

grab all the files of current folder and sub-folder

find . -name .DS_Store -type f -delete

delete all .DS_Store (hidden OSX files) starting from “.” (the current directory)

git reset --hard

reset and set the workspace to pull fresh again

git pull

pulls everything from the repo

git config --global credential.helper cache

after that, git will never ask for your user/pass again. But if you have some problem, you can specify your data into repo/.git/config with this:

[user]
    name = you_name
    password = you_password
[credential]
    helper = store
git config --global user.email "you@example.com"
git config --global user.name "Your Name"

with that you can push with this info

git add <file>...

you stage the <file>

git add -A

you stage ALL files (also deleted files)

git commit -m "Add existing file"

you add a comment of the staged files

git push

you push (upload) all the files that staged

How to autoload a custom component/class in Yii 1.1

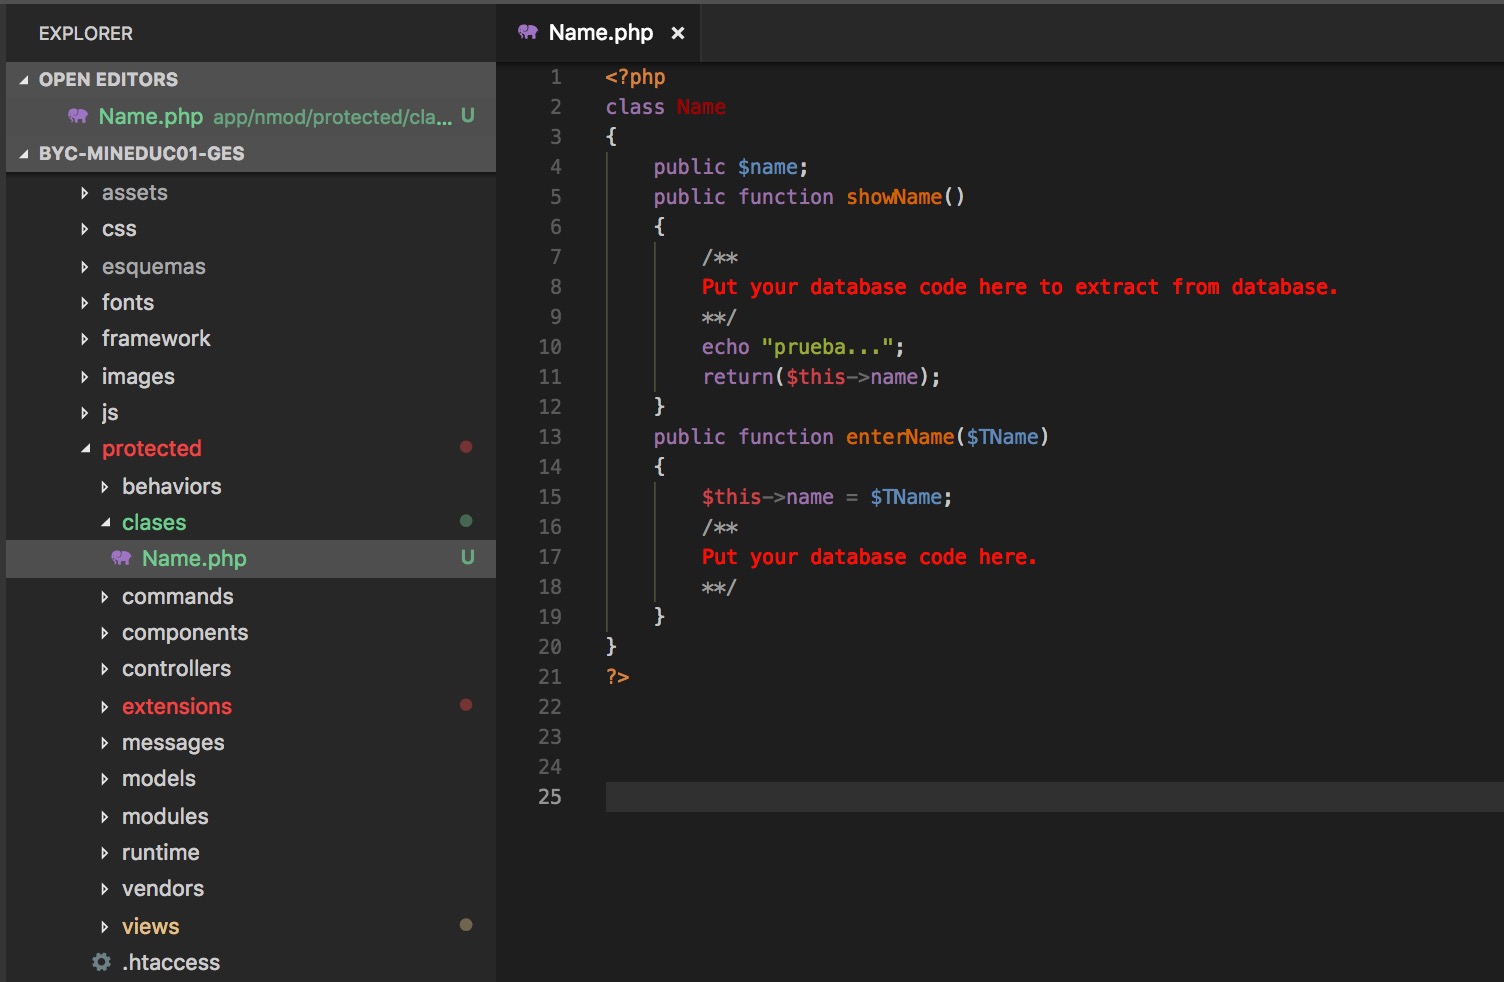
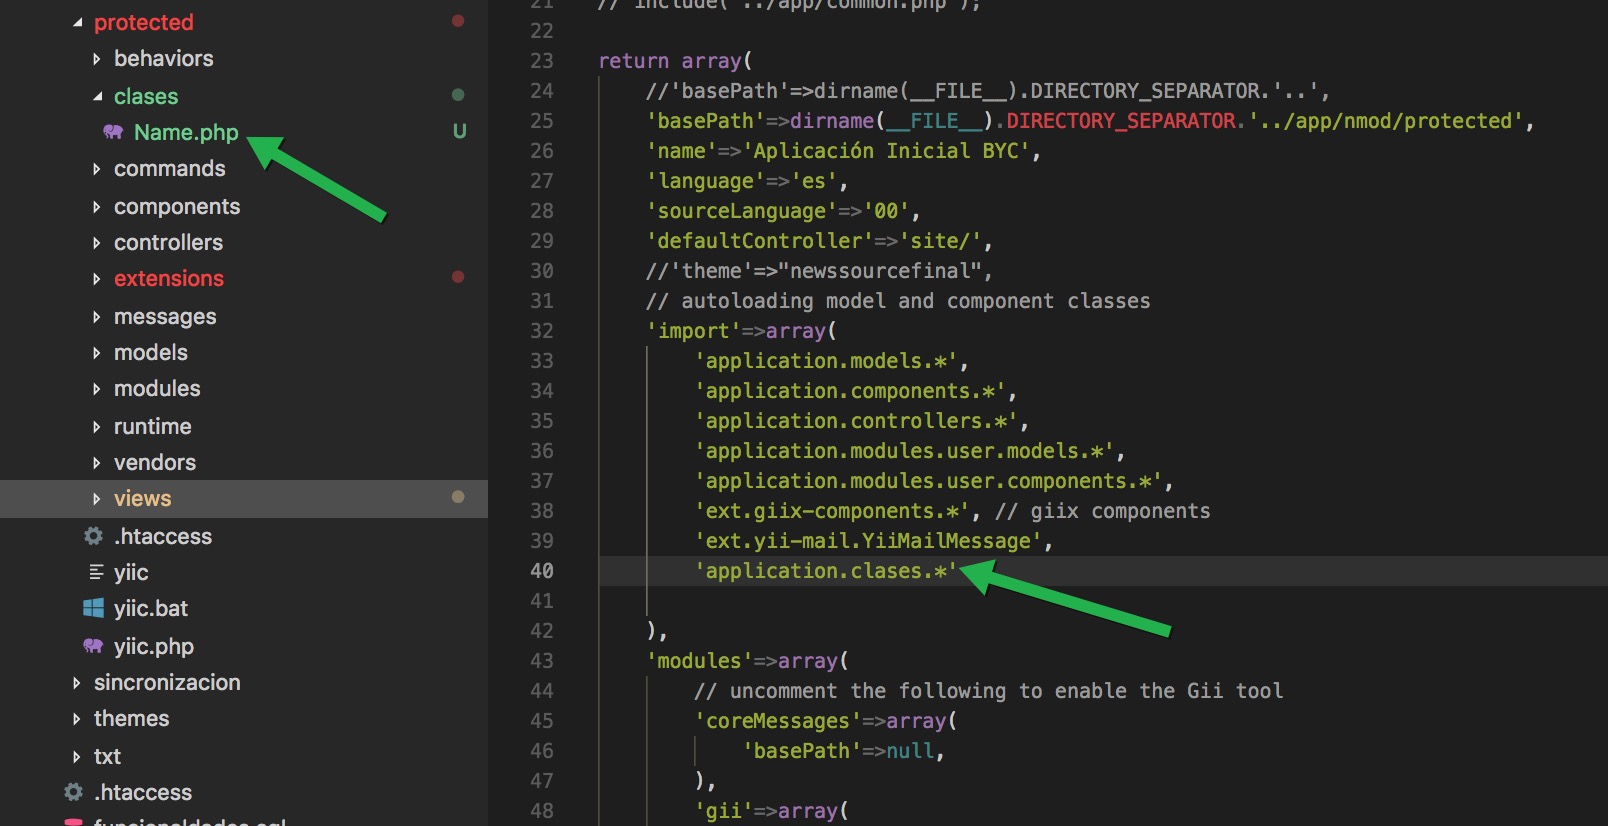
In the file config/main.php add ‘application.clases.*’ to import all the classes in the protected/clases folder.

You can see in the example above that the class Name.php is added. This is the class (a simple one):

And now you can call it from the view that you want, like this:

Now, if you want to integrate some clases that are outside of the framework yo can do it like this:

Adding this to

Yii::setPathOfAlias('customName', dirname(__FILE__).DIRECTORY_SEPARATOR.'../app/');

where “app” is a folder outside the framework (a level up folder)

And finally you can modify config/main.php, adding this to the import array:

'clasesGerman.clases.*',

.gitignore does not ignore a folder

You are working in a repo (a GIT one) and you ignored a folder (in the -gitignore file) but still git is tracking this folder.

You can solve it with this 4 steps:

    1. Commit any changes that you need to fix/change.
    2. Run this command (which removes everything from the git index in order to refresh your git repository)

      git rm -r --cached .
    3. Then run this command (to add everything back to the repo)

      git add .
    4. Then, commit these changes using

      git commit -m ".gitignore Fixed"
    5. Finally, push it

      git push

Read & Write NTFS on OSX (for free)

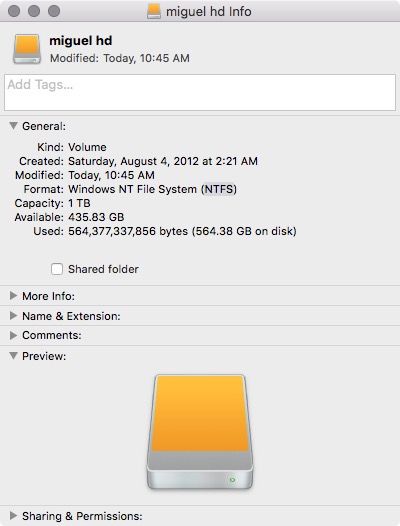
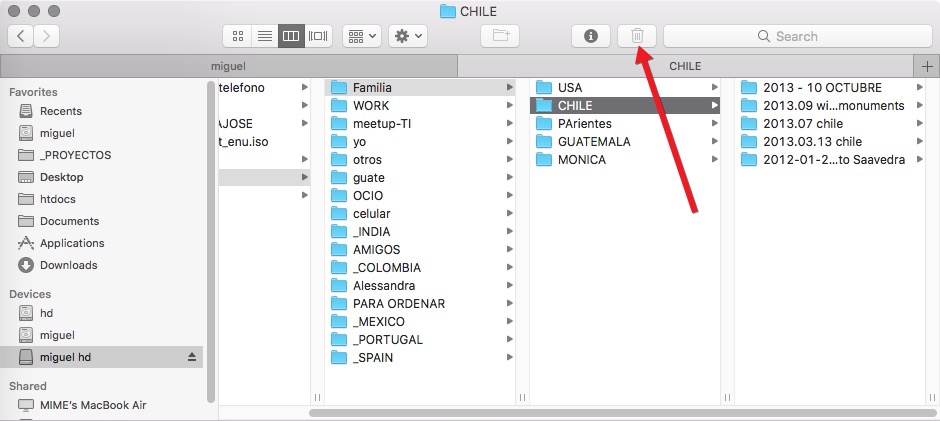
I have and old HD in NTFS (windows) format, but I can not write in it using OSX.

So, to work with it again, I need to follow some steps (using a free option):

Install FUSE. Download the .dmg here: https://github.com/osxfuse/osxfuse/releases

Install Homebrew:

/usr/bin/ruby -e "$(curl -fsSL https://raw.githubusercontent.com/Homebrew/install/master/install)"

Install ntfs-3g:

brew install ntfs-3g

Manually, you can mount NTFS. To do that, you need to create a space:

sudo mkdir /Volumes/NTFS

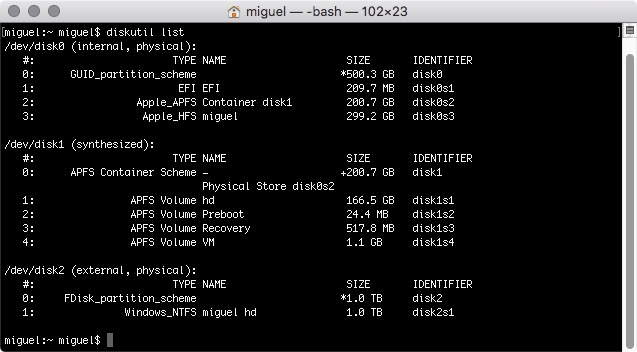
Then, list your disks:

diskutil list

You can see the “disk2s1” name of the NTFS. With that, unmount manually:

sudo umount /dev/disk2s1

And then mount it again in the NTFS folder:

sudo /usr/local/bin/ntfs-3g /dev/disk2s1 /Volumes/NTFS -olocal -oallow_other

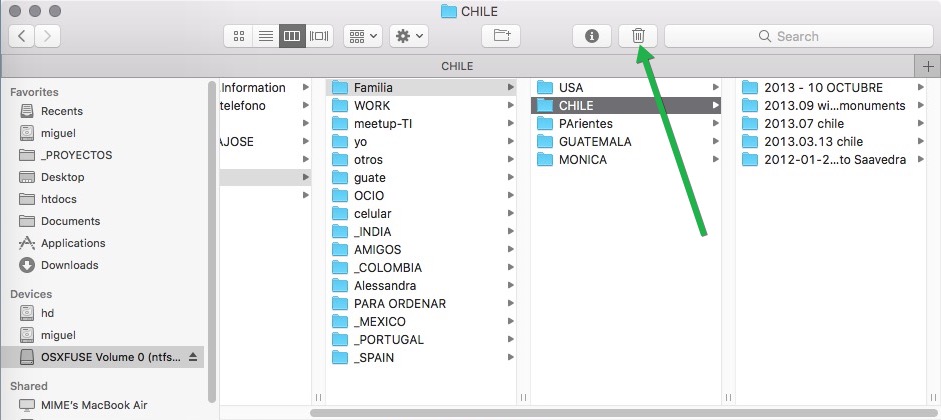
Now, I can write on the NTFS HD:

You need to make this every time. But, If you need a permanent solution see here.

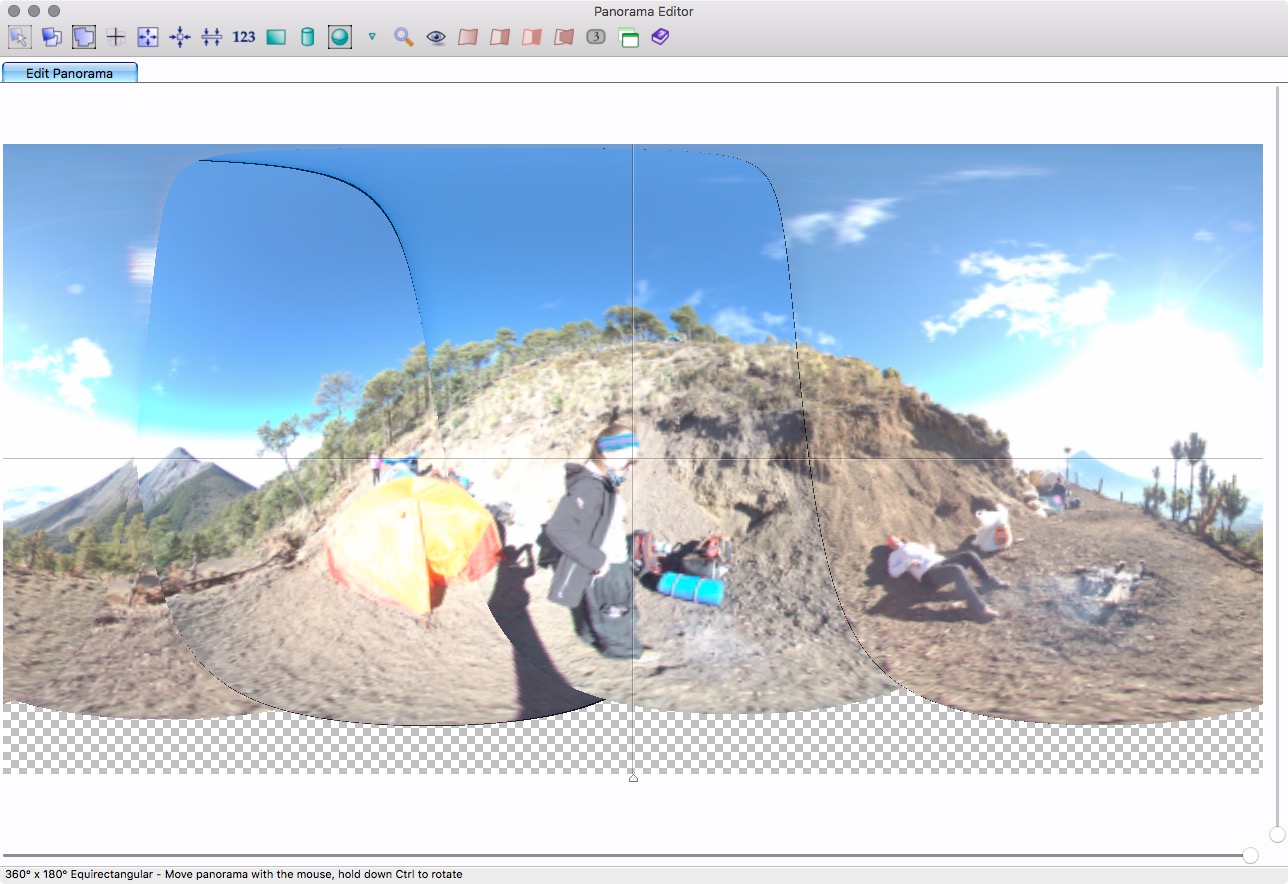
Edit Nadir into a 360 equirectangular image (in PT-GUI)

Processing a equirectangular (panoramic 360×360) photo has always a missing part: “the nadir part” (hole in the floor)

Edit this directly it’s impossible. So, to do that, we need to change the way we see (edit) the photo and re-patch. Luckily, there is a tool that it can help with that. Actually is a template and a workflow. You can download the templates from: http://www.erik-krause.de/ttt/extract_insert.zip

Then, extract the content’s package to /Users/{your-user}/Library/Application\ Support/PTGui/Templates/

Re-start PtGUI,

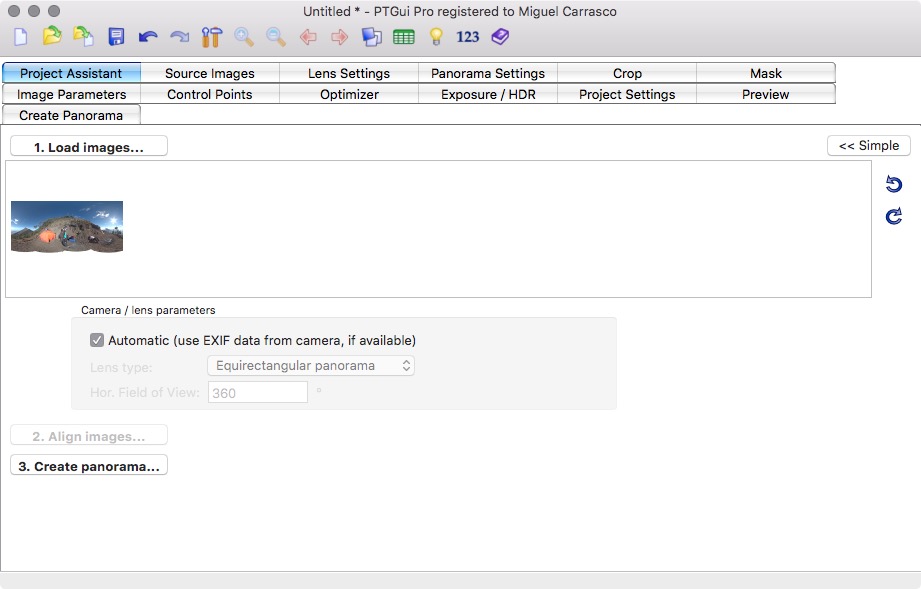
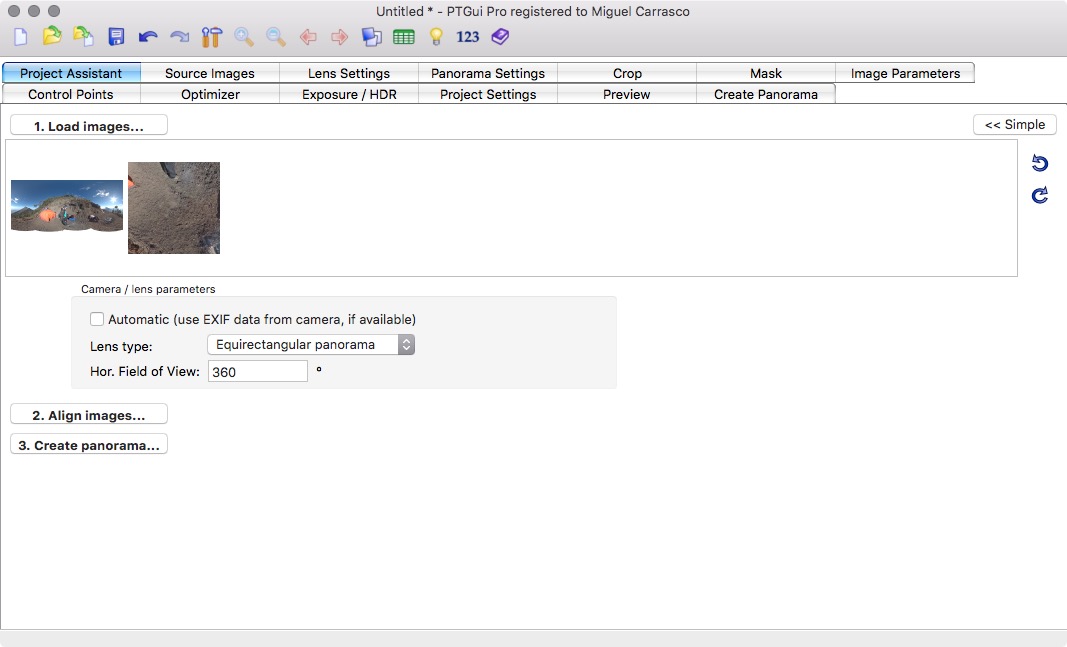
Drag your blended image (alone) to PTGUI

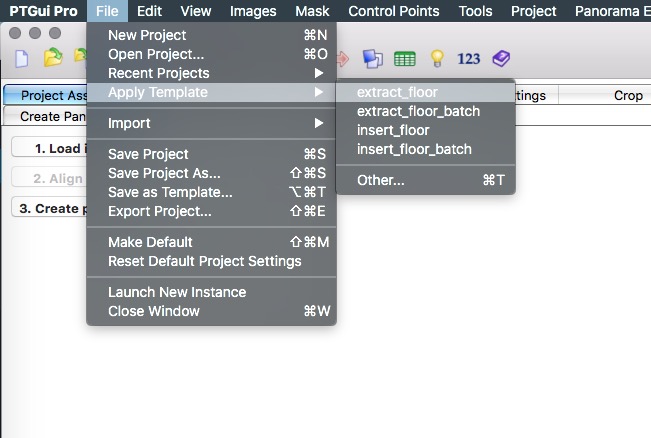
Select “extract_floor”:

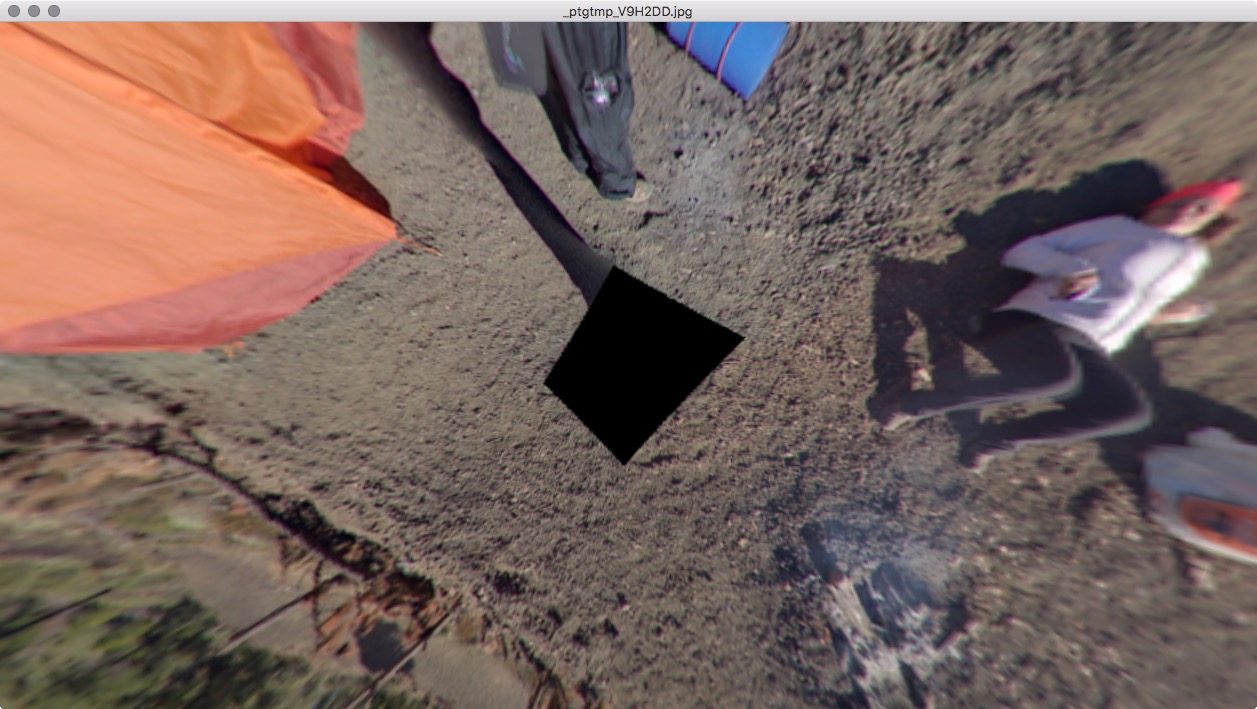
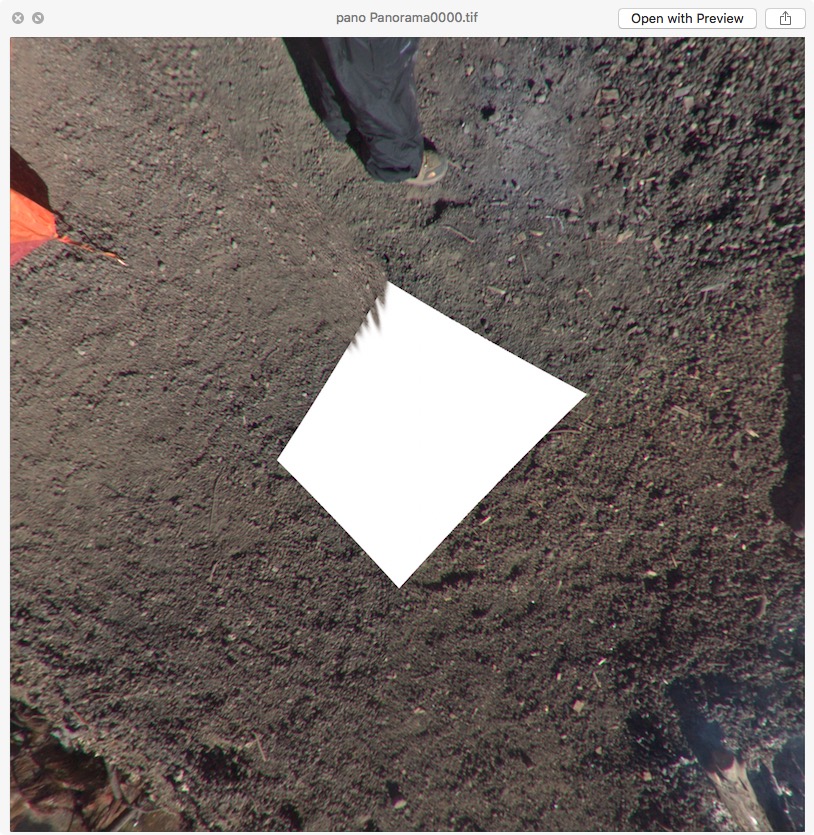
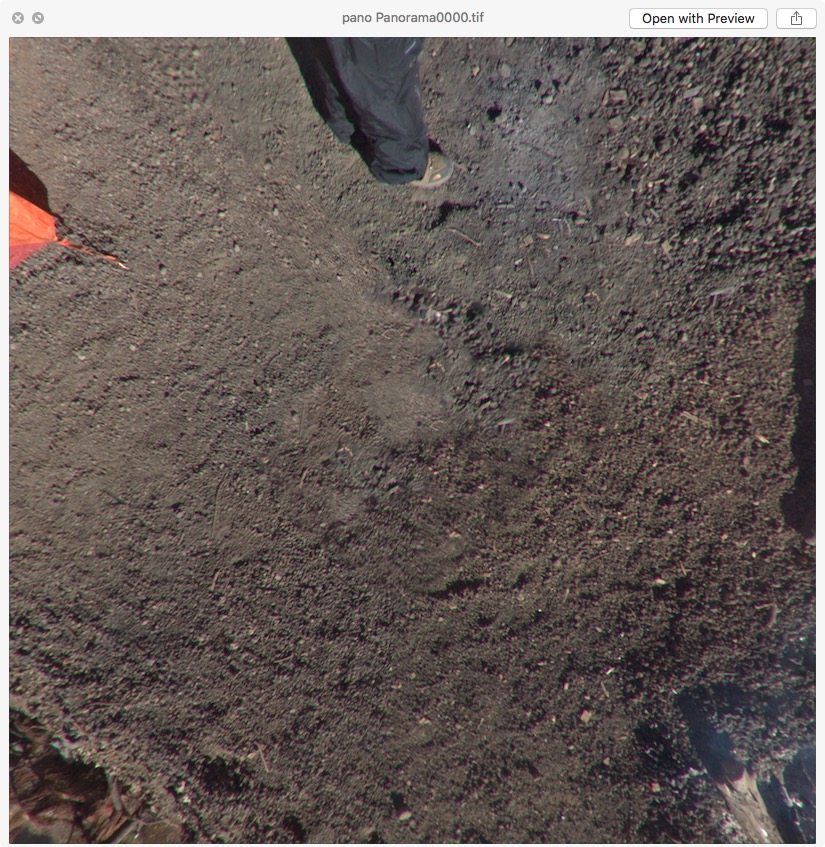
On the “Create Panorama” tag, select “set optimum size”, and press “Create Panorama”. This will create the floor image:

Retouch, and save:

Drag to PtGUI:

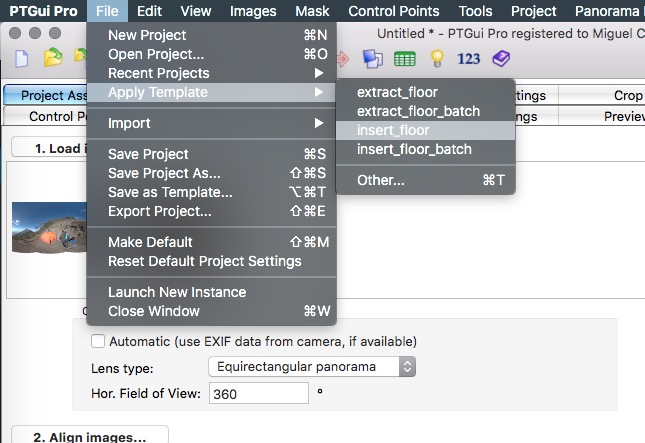
Select “insert_floor”

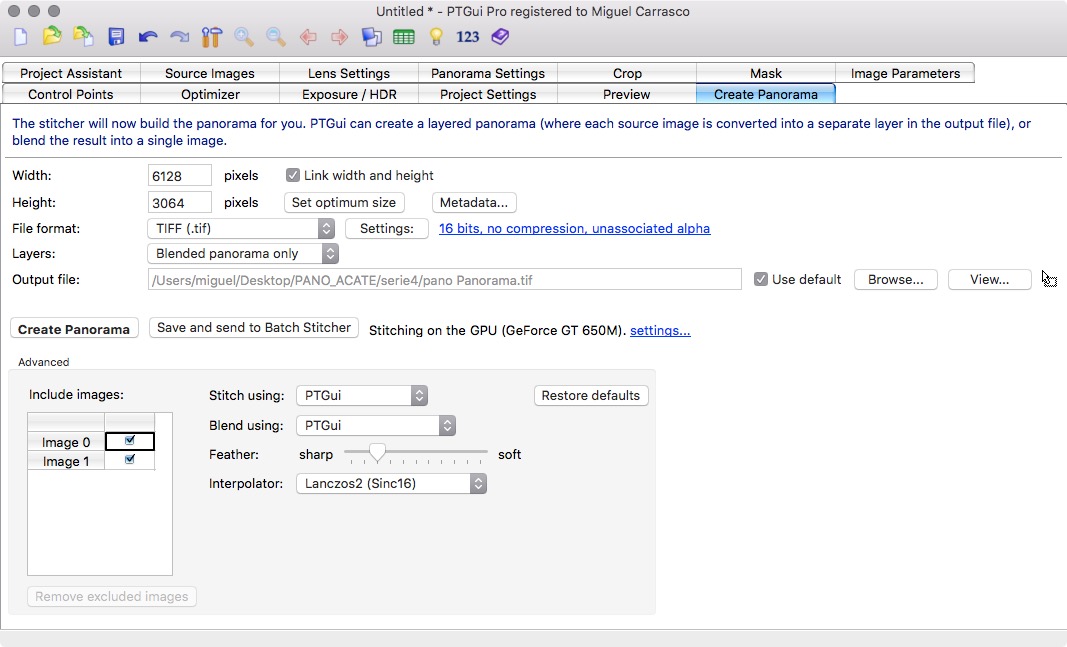
Select “Set maximum size” and make sure to select all (2) images included

Finally, press “Create Panorama”.

Extract an .APK from your Android using the CLI

Sometime we want to analyze certain app that reside in your phone (an Android one), the way to extract this .APK (via the CLI) is using this commands (first you need to connect your android via USB with developer mode activated):

adb shell pm list packages

This list all the packages names of your installed APKs

select your desire package name (in the example: com.sgt.myapp) and run:

adb shell pm path com.sgt.myapp

This command will return a path like: adb pull /data/app/com.sgt.myapp-1.apk. So with this information, run:

adb pull /data/app/com.sgt.myapp-1.apk

Now you have you APK in your computer.


Another useful command is:

adb shell dumpsys package com.sgt.myapp | grep versionName

that return the version name